If you have a webhosting account, you will find that you need to send files to it from time to time.
Many webhosting accounts use cPanel for users to interact with their online account. This comes with a File Manager, which you can use to send and browse the files in your online space.

This is fine for the odd file, but if you want to move many files, it’s very difficult to do this quickly. There has to be a better way!
FTP (File Transfer Protocol) is the answer. Without getting technical, it’s a way of easily sending files between your computer and a server.
You may have heard of FTP before, but you’re not really sure how to use it. If so, this guide is for you!
Here, I will show you how to setup FTP to easily send files to your webhost.
Step 1: Install FileZilla (or your client of choice!)
Firstly, we need to install an FTP client. This is a program which is installed on your computer, which uses FTP to communicate with your server.
There are many FTP clients available. I use FileZilla for the simple reasons that it’s widely used, free, and works. I will be using FileZilla for this guide. You can download and install it from here.
Step 2: Get FTP configuration file in cPanel
Next, log in to your webhosting account, and open cPanel. (I am using SiteGround, so yours may look a little different, but the process should be similar.)
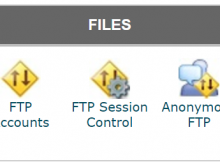
Under cPanel home, find Files, and open FTP Accounts:

You should now see a list of FTP accounts you can use, for example:

Now, you need to decide which account you want to use. If you are the administrator or the only user of the account, you should look at the account that has the same name as your username. (This is the root account – look for the one with the most data.) But if you are creating an account for someone else, and you only want to give them access to a specific folder, you should use the option to add an FTP account.
Once you have chosen which FTP account you want to use, click on Configure FTP Client:
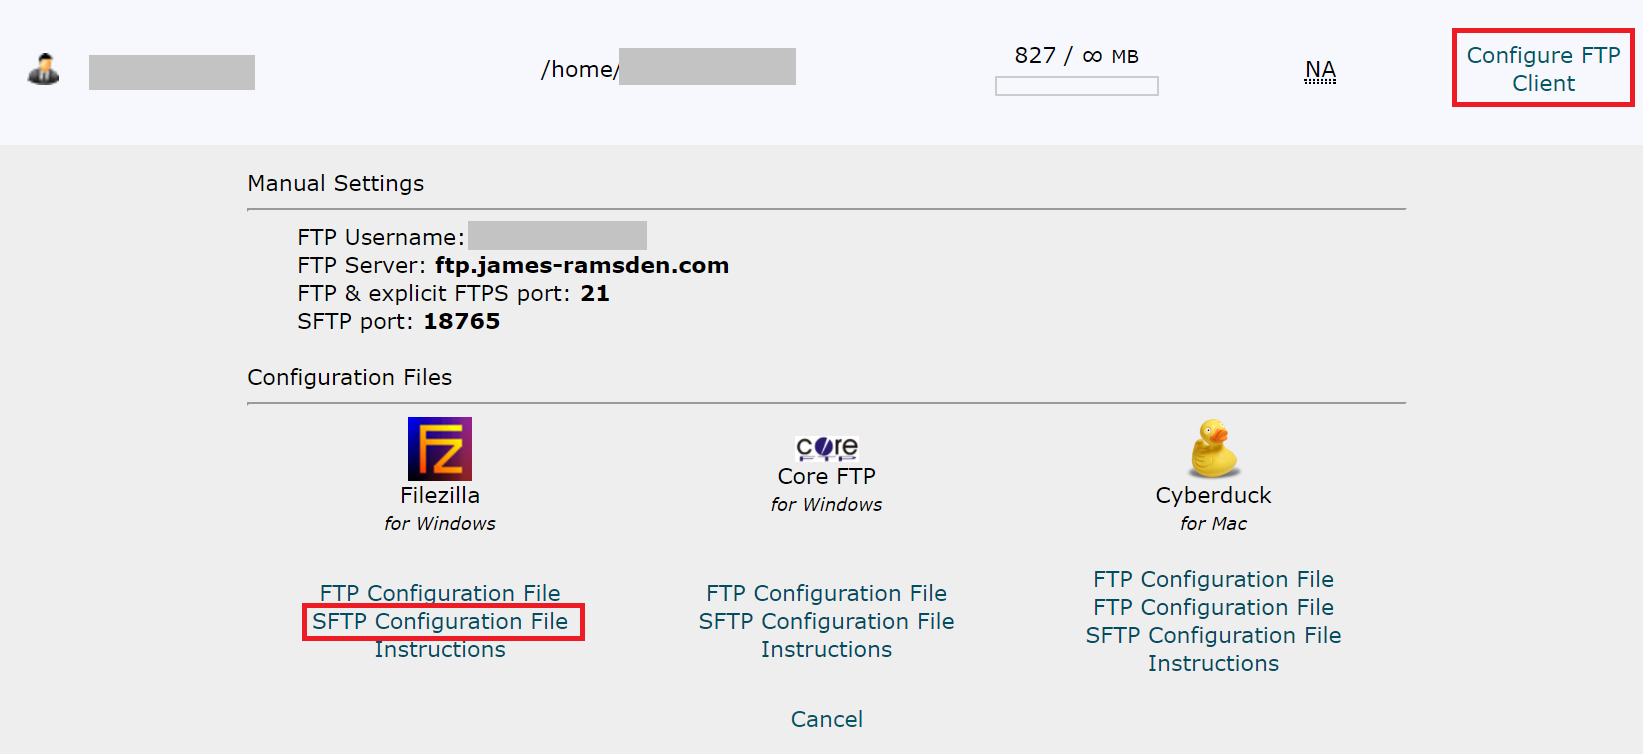
You want to download the configuration file for your FTP client. SFTP (secure FTP) is better, but if it’s not available, or you have problems with SFTP, FTP configuration file is okay.
(No configuration file for your client? Skip to the last section!)
Step 3: Import FTP configuration file to FileZilla
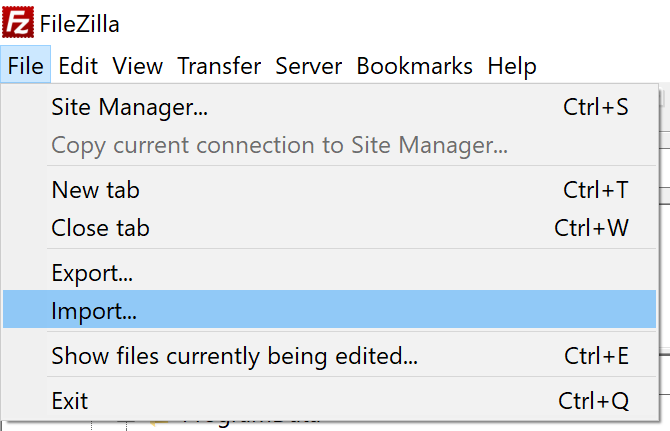
Open FileZilla. Go to File > Import. Open your configuration file that you just downloaded.
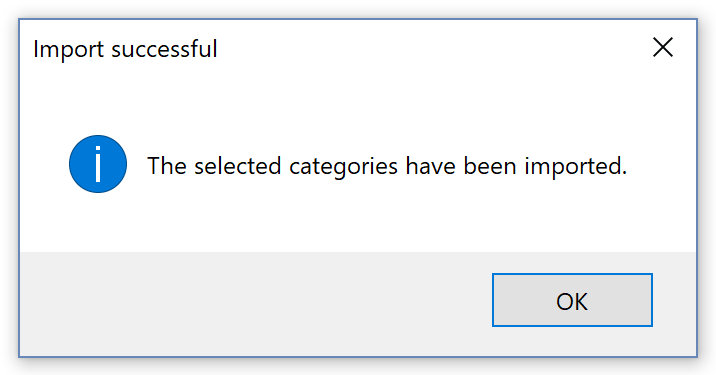
Confirm any messages that appear.
Step 4: Connect!
Now, we are ready to connect to our FTP account.
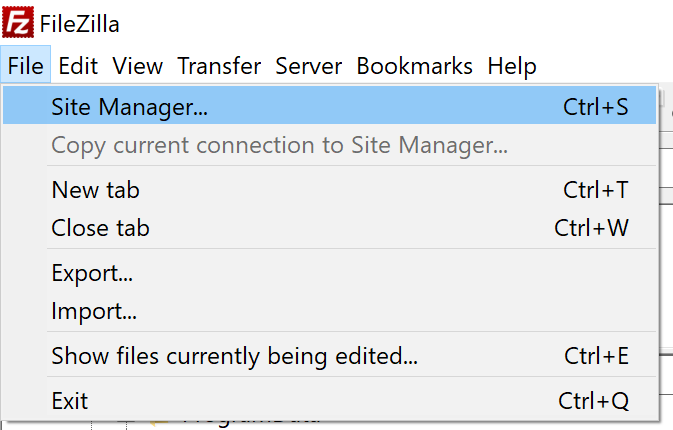
Go to File > Site Manager.
You should see an entry on the left. This is the FTP account we just added.
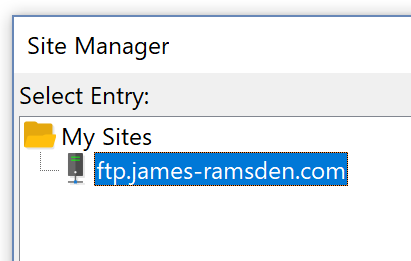
Select it and press Connect.
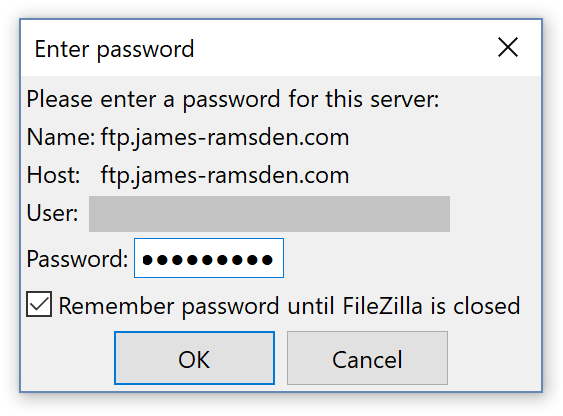
Enter your password. This will either be the password of your hosting account or, if you created an FTP account earlier, the password you made then.
If all has gone well, you should see your files appear in the main window. This is a direct link to your hosting account, and you can drag and drop files and folders into this window as you would the files on your own computer. They will be synced automatically to your hosting account. Nice!
In future, when you want to use FileZilla, head straight to the Site Manager, and connect from there. It will remember your configuration file, but you will need to put your password in each time.
The Last Section: Connecting without a configuration file
If, for whatever reason, you can’t use a configuration file, you can connect manually.
In step 2, instead of downloading a configuration file, look at the manual settings.
Then, in FileZilla, put these manual settings into the text boxes near the top of the window (click for full size):

Finally, hit Quick Connect. The process should be similar for other clients.