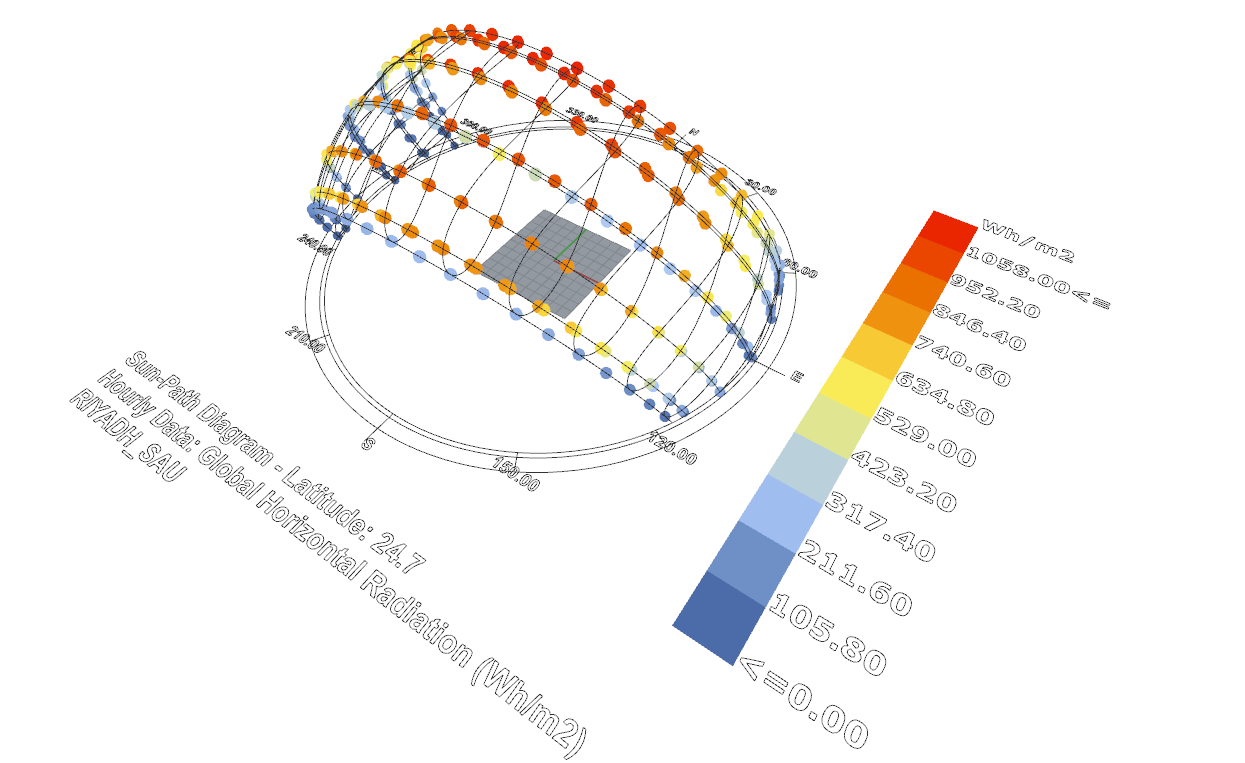
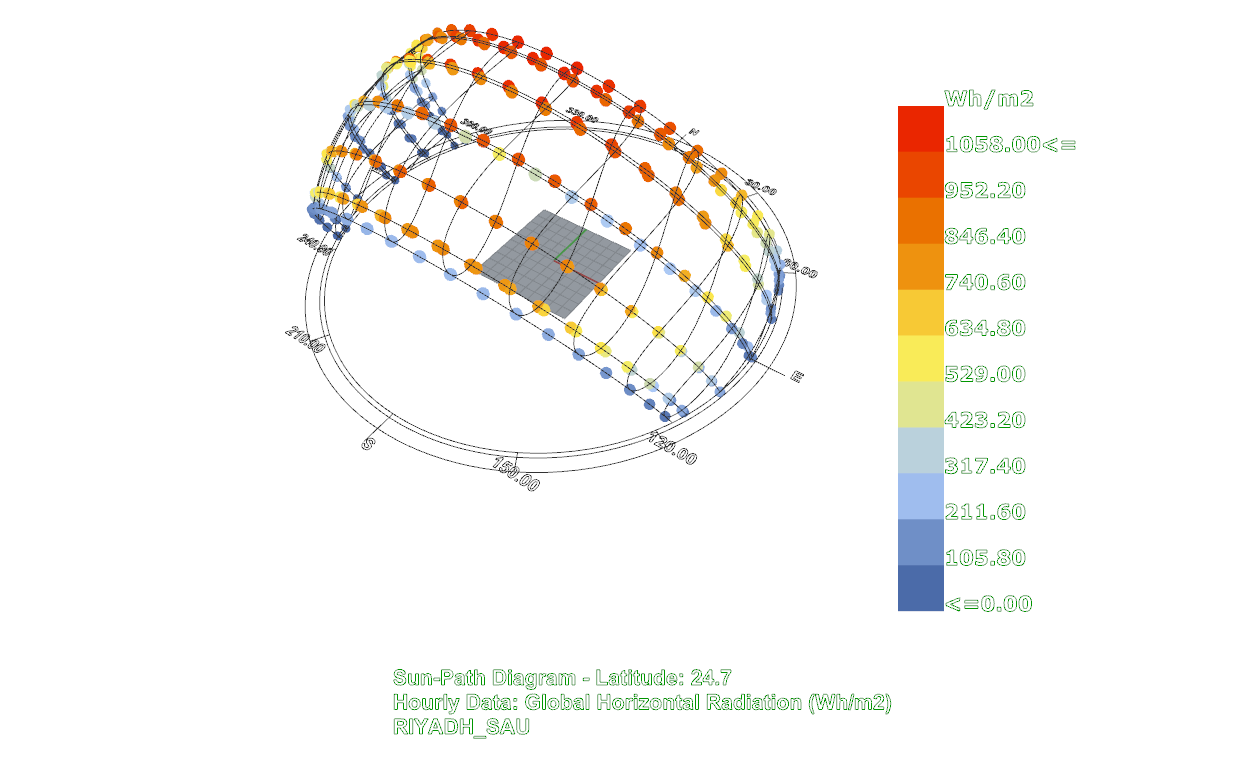
Setting the camera in Rhino can be a bit fiddly. Often, dragging and orbiting doesn’t give you the camera view you need. It is possible to manually set the camera using the ViewportProperties command, but even this often isn’t ideal.
However, it is surprisingly easy to set the Rhino camera with a few lines of C# code in Grasshopper. The key part is understanding how the Rhino camera works. The camera location is defined by a Point3d. In order to get the view direction, a second point is used, called the target. So if you want to ‘look around’, keep the camera location constant, and move the target. If you want to orbit around an object, keep the target the same and move the camera location. If you want to ‘walk’ (like in Sketchup) then you need to move the location and the target together.
To use the code below, create a C# component in Grasshopper. Copy the script below into the component. The snippet gets the camera in the selected Rhino viewport.
Get camera
private void RunScript(bool getcamera)
{
    //get current viewport
    vp = doc.Views.ActiveView.ActiveViewport;
    //save camera location and camera target
    loc = vp.CameraLocation;
    tar = vp.CameraTarget;
}
// <custom additional code>

Rhino.Display.RhinoViewport vp; //used to get and set rhino camera properties
Point3d tar;
Point3d loc;
…and this one sets the viewport. You’ll need to set two Point3d inputs called loc and tar to take the user’s desired camera location and target points.
Set camera
private void RunScript(Point3d loc, Point3d tar)
{
    //get current viewport
    vp = Rhino.RhinoDoc.ActiveDoc.Views.ActiveView.ActiveViewport;
    //set new camera
    vp.SetCameraLocations(tar, loc);
}
// <custom additional code>

Rhino.Display.RhinoViewport vp; //used to get and set rhino camera properties
These examples are of course very simple, but you don’t have to stop here. Once you’ve got the gist of it, this approach reveals not only the ability to manipulate the view but it allows a huge range of creativity. For example, I rendered OpenStreetMap data in Grasshopper and manipulated the camera to follow a road.
You can download the Grasshopper file to set the camera along a curve like the above video from here.

