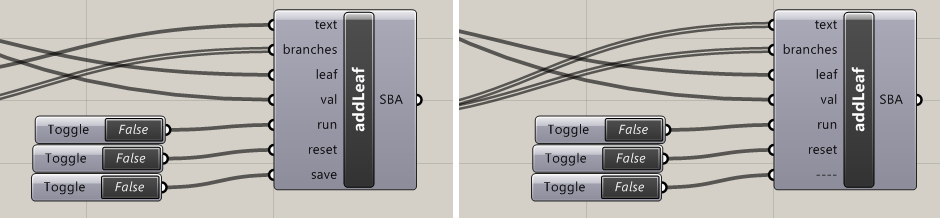
The two components above look similar but are actually the same. What’s the difference? When a single item is connected to the first input, saving is enabled in the bottom input. When a list is connected to the first input, saving is disabled.
When we are writing custom Grasshopper components in C# in Visual Studio, this is very easy. All we do is, somewhere within the SolveInstance method, modify the input properties to change the name, then manually add some code to allow for our desired saving behaviour.
protected override void SolveInstance(IGH_DataAccess DA)
{
   if(Input0.Count == 1)
   {
       Params.Input[6].NickName = "save";
       Params.Input[6].Name = "Save";
   }
   else if (Input0.Count > 1)
   {
       Params.Input[6].NickName = "----";
       Params.Input[6].Name = "Save (Disabled)";
   }
}
In fact, by going to
Params.Input[i].something
where i is the index of the input we are interested in, we can access lots of interesting properties and methods to bring new interesting behaviour to our Grasshopper components. We can even do the same to our outputs with Params.Output[i].
And it’s not just limited to the parameter inputs and outputs either. By using
this.something
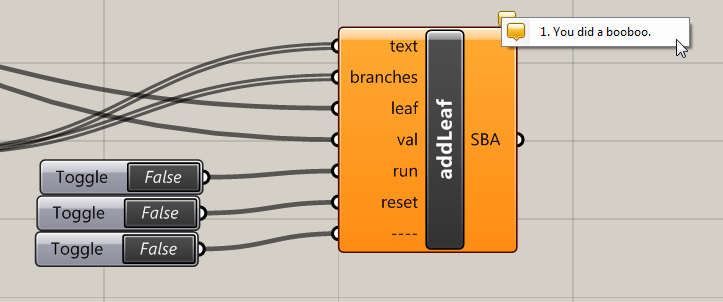
we can browse the properties and methods which affect the whole component. For example, we can add a warning to our component by adding the line below to our SolveInstance code:
this.AddRuntimeMessage(GH_RuntimeMessageLevel.Warning, "You did a booboo.");