Grasshopper: Manipulate the branches of an existing tree with C#

Say you have a datatree in Grasshopper. It has two levels of branches, and each branch of data has a number of items. We want to ‘flip’ the branches around, but leave the lists of data at the end of each branch intact.

As an example, let’s use the following structure:

And here’s what we want it to look like after:

As a param mapper, this action would look like this:

grasshopper-param-mapper

How would we perform this action using the C# code block?

  private void RunScript(DataTree<object> x, object y, ref object A)
  {

    DataTree<object> rtnTree = new DataTree<object>();
    for (int p = 0; p < x.BranchCount; p++)
    {
      int[] pathint = x.Path(p).Indices;
      GH_Path flippath = new GH_Path(new[] {pathint[1],pathint[0]});

      foreach (var item in x.Branch(new[] {pathint[0],pathint[1]}))
      {
        rtnTree.Add(item, flippath);
      }

    }

    A = rtnTree;

Restore a Mac with Windows installed to factory settings

Are you looking to wipe your Mac back to factory settings, and have a Windows installation you also want removing? This guide will show you how to restore a Mac back to its as-new state, with the Bootcamp Windows installation and its partition gone.

This will obviously remove all of your personal data, so make sure you’ve backed everything up you want to keep, because it will all be gone by the end. This is a drastic solution that I only recommend if, for example, you are selling your computer.

There is no one-click solution to wipe and restore your Mac. Instead, here are the steps you need.

This process assumes you have OS X Yosemite installed, though the process should be similar for other modern versions of OS X.

Step 1: Remove Windows

We can use Boot Camp Assistant to remove Windows first. This will remove the Windows partition, and restore your Mac back to its one-partition state. Your Mac data and istallation will be untouched, and the free space created will be added to the Mac partition.

Boot OS X. Run Boot Camp Assistant. Click through to the following screen.

Boot camp remove windows installation option

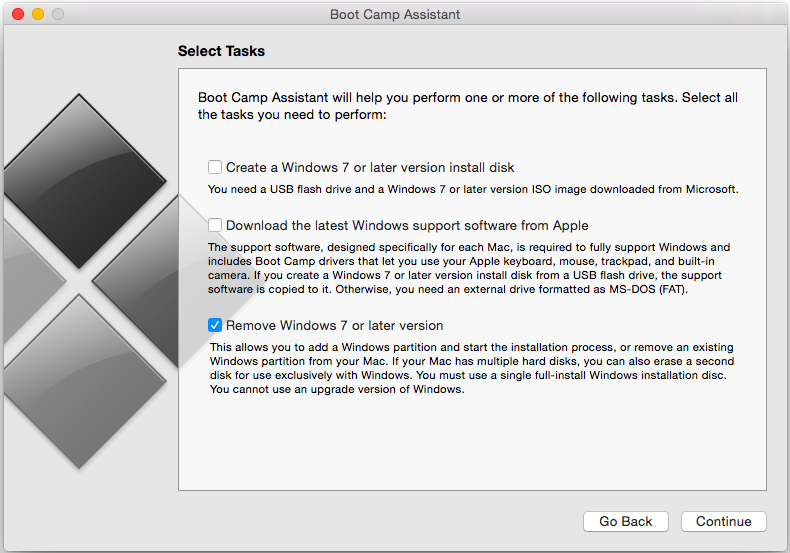
Select Remove Windows 7 or later version and click Continue.

The next screen should show how your hard drive will look once the Windows partition has been returned to the Mac partition. Click Restore.

Screen Shot 2016-05-11 at 14.13.33

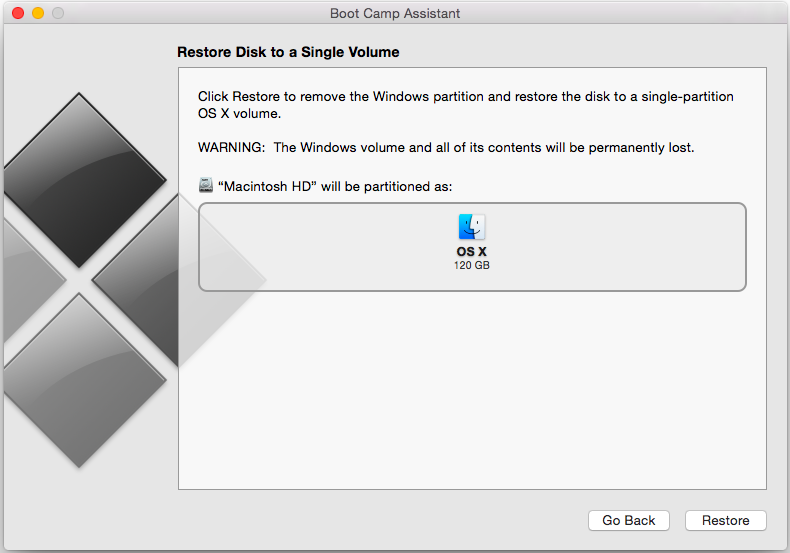
This should not take long – it took seconds on my Air.

Screen Shot 2016-05-11 at 14.14.52

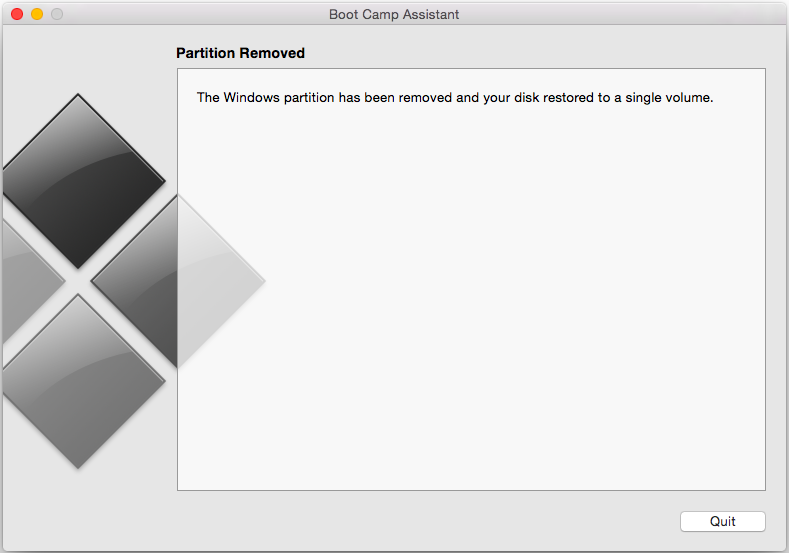
And that’s it! Windows is now gone.

Step 2: Erase your Mac partition

We want to force OS X to do a clean installation, not to just ‘repair’ or ‘restore’ itself. The best way to do this is to erase OS X and then re-install it.

Erasing your partition is quite safe – you’re not going to brick your machine. This is because your Mac should have a separate hidden ‘recovery’ partition, so even when you erase your Mac partition, your computer will still be able to re-install itself with a fresh copy of OS X later on.

To erase your Mac partition, restart your computer, and hold Cmd+R while it restarts. The following screen should appear:

yosemite-restart-recovery_mode-reinstall_os_x-1188x804

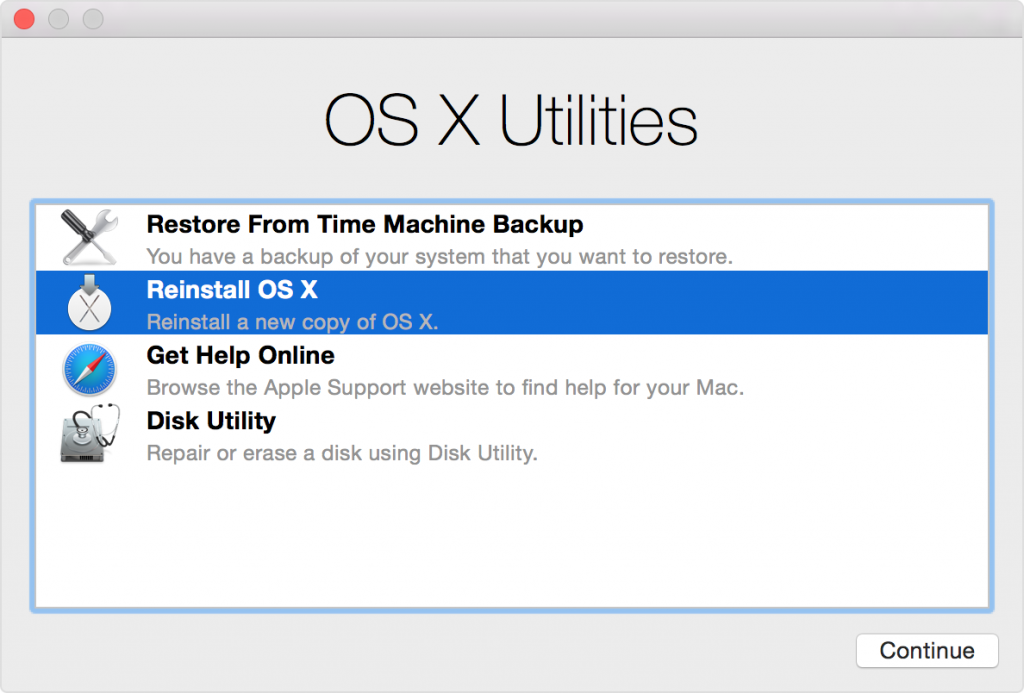
Select Disk Utility.

On the left, select your Mac partition – i.e. the partition where OS X is installed. Select the Erase tab towards the right. Then, under Format, select Mac OS Extended (Journaled). Finally, click Erase.

This should only take a few seconds. Once finished, we can then install a clean copy of OS X on our Mac partition.

Step 3: Reinstall OS X

You will need an internet connection for this, as OS X will be downloaded as it installs. (Older versions of OS X may require physical media.) You will also need your Apple ID.

Quit the Disk Utility. You should be returned back to the OS X Utilities screen from above. Select Reinstall OS X.

Click through the next few windows. Then, the process should start. On my (not very fast) connection, it took a few hours to download and reinstall OS X.

Done!

The installer should automatically restart your Mac once finished.

Having problems? Here are a few guides that explain the process in more detail:

Digital Trends: How to restore a mac to factory settings
BleepingComputer.com: forum post
MacWorld: How to restore your Mac
Apple support: remove Windows from your Mac

Premium rendering tools for Rhino

As happens once every week or so, Rhino send me an email of new and updated plugins and tools. Normally, these emails get little more than a cursory glance to see if anything stands out.

My architecturally-inclined colleagues and friends have often spoken about the amazingly superior aesthetics of premium rendering packages. Being a practical kind of guy, I didn’t see anything wrong with the default Rhino render. It usually generates images which seemed adequately pretty for my needs. But in the email, there was a mention of an updated version of Octane Render, and because I have much more important, pressing things to do, I felt like this would be a good way to procrastinate.

I downloaded the Rhino demo and got it going. I chucked in whatever geometry was in my Rhino recent files list, and got it going. And I have to say that I was quite surprised at the result! Take a look…

Octane renders

A quick rendering example in Rhino using OctaneRender and out-of-the-box settings

A quick rendering example in Rhino using OctaneRender and out-of-the-box settings

A quick rendering example in Rhino using OctaneRender and out-of-the-box settings

Bearing in mind that these renders were done with every setting set at default, no materials applied, and that they were made by someone with minimal rendering experience who has no idea what he’s doing, the results are quite remarkable! I particularly like the way shadowing diffuses if the shading object is far away as in the last image.

Compare the above images with Rhino render (again, default settings, though I had to manually turn on sky and sun):

Rhino renders

Rhino render example of building geometry

rhino-render-example-2

Side by side

A quick rendering example in Rhino using OctaneRender and out-of-the-box settings rhino-render-example-2
A quick rendering example in Rhino using OctaneRender and out-of-the-box settings Rhino render example of building geometry

What’s the catch?

You shouldn’t have to guess. High quality software doesn’t come cheap! To buy a single standalone licence with the Rhino plugin will set you back €439.

What else is out there?

There is a wealth of competing renders out there. They are not all created the same, and it is worth looking around. For example, some renderers work on your CPU, which ensures good compatibility, whereas others (like Octane) only work on certain nVidia graphics cards.

A quick look-around at the competition revealed:

Update: Students can get Maxwell for free! Take a look here.

What if I have a really big job?

Photo-realistic rendering is a hugely expensive job (in terms of computational time, and often in terms of money too). Even a single image can take hours to render if the resolution, complexity and settings are all high.

This may be acceptable if you are creating a few images, but what if you are making a film or an animation, where every frame needs to be rendered? Algorithmic improvements only get you so far. Beyond that, the solution is to throw bucketloads of computing performance at the problem.

You might choose to set up a few EC2 instances to solve this. But this is perhaps too involved for a one-off job, not least because there is the headache of licensing to solve.

A quick google reveals numerous organisation that offer render farms for hire. Essentially these are huge numbers of computers all strung together to share the mammoth task of a large render job. These have advertised cumulative computational speeds in the hundreds of GHz. The lowest prices seem to start at around $0.004 per GHz-hour.

My first post

Hello! It looks like I’ve decided to start a blog. I’ll hopefully be writing about what I’m getting up to in my EngD and all the wonderful and interesting things I’ll be learning about, and if I have anything else to babble about, who knows, it may end up on here too.

As for my first post, I should probably give some actual content. Here is a picture of a duck:

Image

(Made in Rhino, a program for modelling with curved surfaces. This was my greatest and proudest achievement in my first week!)